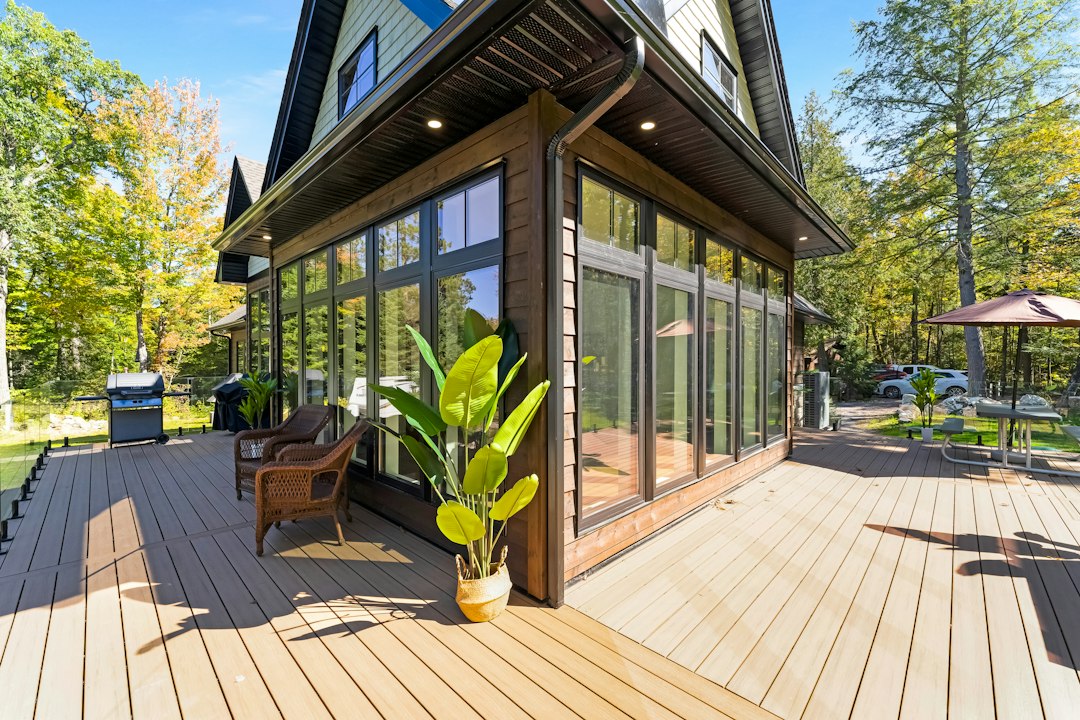
The main choice is between a penetrating sealer and a film-forming coating. A penetrating sealer soaks into the wood and leaves less of a surface layer, which generally makes peeling less likely when the deck expands and contracts. A film-forming product creates a visible layer above the boards and can offer a more uniform color, but it may crack or peel if moisture gets beneath it. When comparing options, review the directions for compatible wood, coverage, drying conditions, and recoat requirements rather than relying only on labels such as best wood deck sealer.
Preparation is where many otherwise good projects fail. Sweep first, then clean with a deck-appropriate cleaner to remove grime, oils, gray weathered fibers, and mildew staining. Rinse thoroughly so cleaner residue does not interfere with adhesion. Pressure washing can remove surface material or leave raised grain when used too aggressively, so keep the spray moving and avoid cutting grooves into soft boards. After cleaning, allow the wood to dry according to the product directions. Moisture content means how much water remains inside the wood, and excess moisture can dilute the sealer or trap water under a coating.
Sanding has a specific purpose: it removes splinters, smooths raised grain, and evens out areas that absorb sealer at different rates. It should not polish the boards so heavily that the surface becomes less receptive. On an older deck, sand only after loose coating and damaged fibers are removed, then clear away all dust. Test a small hidden section before committing to the whole surface. For example, a heavily weathered stair tread may absorb more sealer than newer railing boards, so the test can reveal whether the color and sheen will look acceptable.
Weather affects both application and curing. Direct, intense sun can dry the surface too quickly, while cool, damp conditions can extend drying and leave the finish vulnerable to footprints, rain, or settling dust. Check the forecast and work when the boards can remain undisturbed through the recommended cure period. Apply thin, even coats rather than flooding the wood. Back-brush puddles around knots, cracks, and board gaps. Lap marks occur when one wet section overlaps a partly dried section, so maintain a manageable working edge and keep the application sequence consistent.
A realistic example is a deck that looks dry on top but sits over a damp, poorly ventilated area. Sealing only the visible surface may slow evaporation and encourage future blistering or peeling. Pay attention to drainage, leaves trapped between boards, and water collecting near posts. Keep end grain, cut edges, and exposed fastener areas in mind because they can absorb water differently from broad board faces. For more deck sealer application advice, compare the product instructions with the deck’s wood condition, exposure, and previous finish instead of copying a neighbor’s method.
Maintenance begins with observation, not an automatic annual recoating schedule. Look for uneven color, dirty traffic lanes, flaking areas, and places where water no longer behaves as expected. Clean gently before deciding whether another coat is needed, and remove failing material rather than sealing over it. A penetrating product may fade gradually, while a surface coating can fail in more obvious sheets or cracks. Furniture feet, grill grease, and planters create concentrated wear, so inspect those zones separately. The right sealer is the one that suits the wood, existing finish, exposure, and maintenance you can realistically provide.